


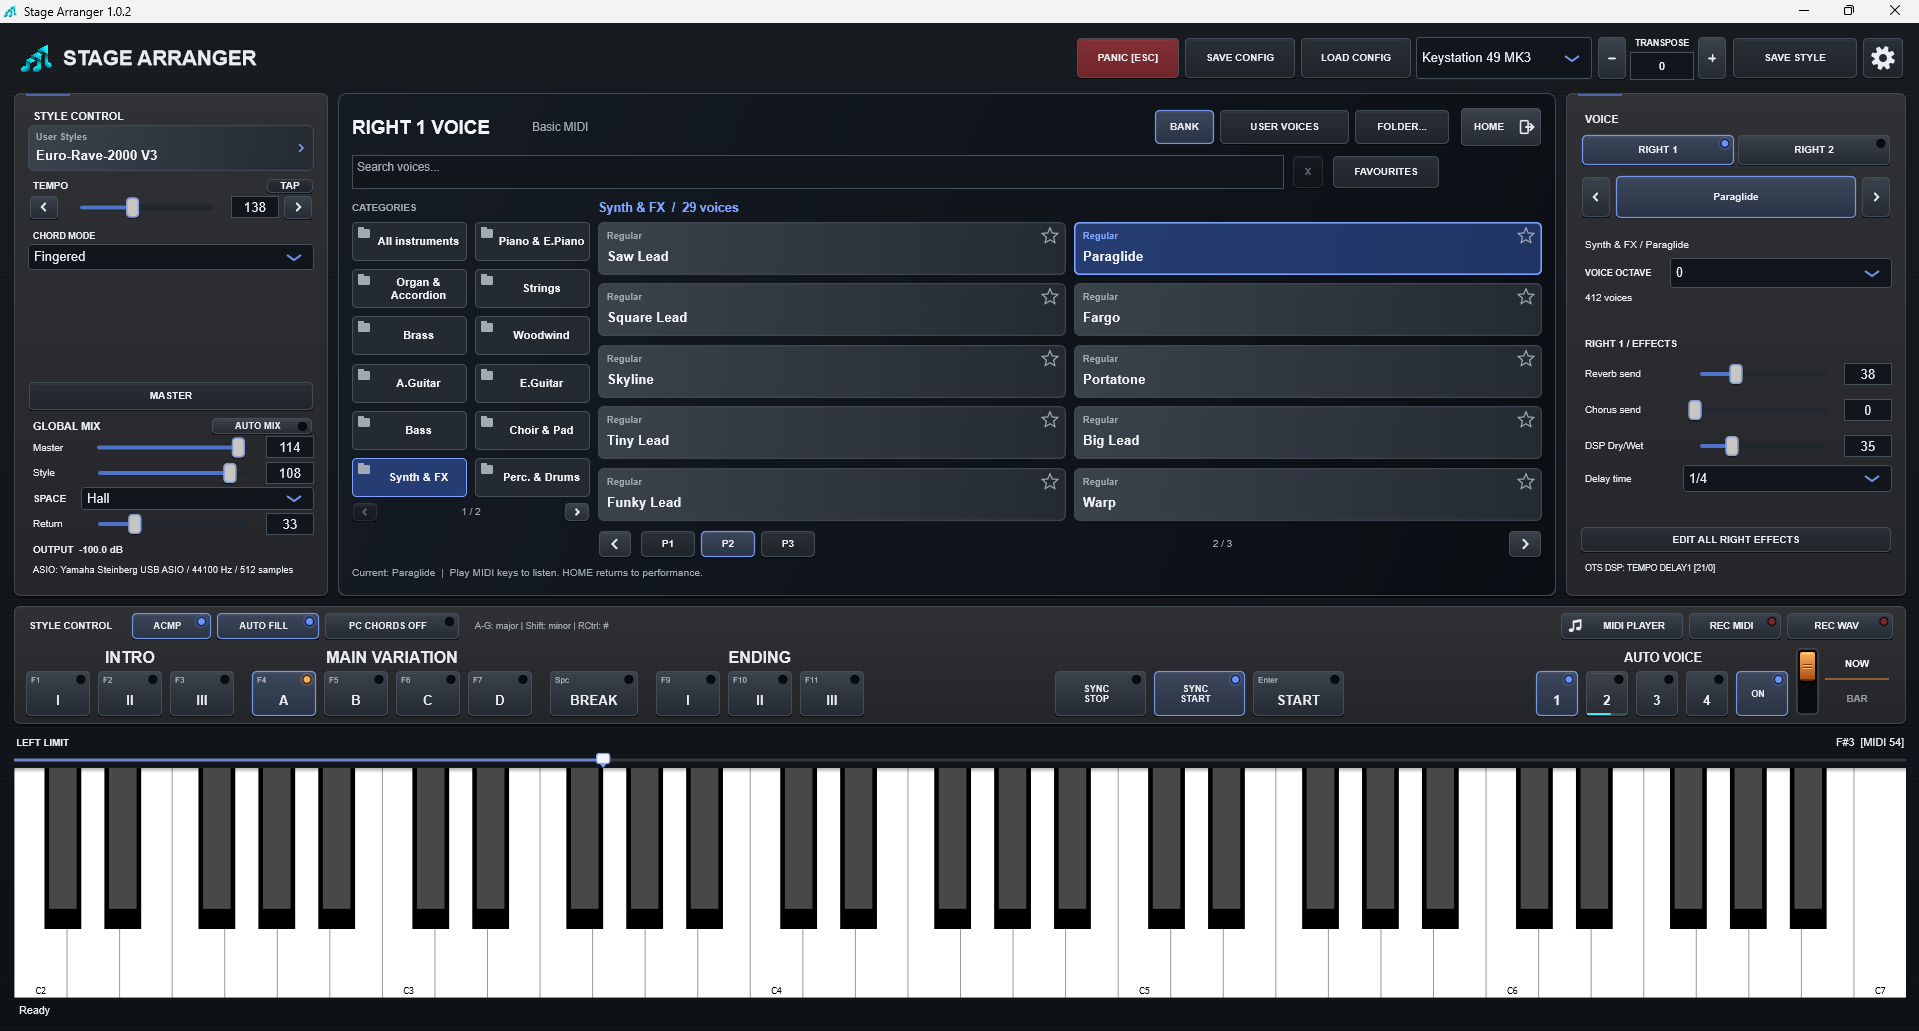
Choose a sound
- Select RIGHT1 or RIGHT2.
- Click the displayed voice name to open the central voice browser.
- The browser locates the current voice’s category and page when it is present in the active bank. Use categories, search, pages or favourites.
- Select a sound; HOME returns to the performance display.
The arrows beside the voice name step through sounds for the selected RIGHT part. RIGHT2 Off disables the second layer; RIGHT1 remains the main live voice.
Pitch controls
| Control / setting | What it does |
|---|---|
| VOICE OCTAVE | Octave of the selected RIGHT1/RIGHT2 part. −1 = −12 semitones; +1 = +12. With an Auto Voice selected, this belongs to that slot and can be written with SAVE STYLE. |
| TRANSPOSE | Performance-key transposition in semitones. It is not an individual voice’s octave control. |
Recall Auto Voice 1-4
Auto Voice is One Touch Settings (OTS). A short click on an existing bank 1-4 recalls voices, layers, levels, pan, sends, voice octaves and supported DSP. Recall works with ON or OFF. ON links Main A/B/C/D to banks 1/2/3/4 and enables hold-to-record. OFF disables linking and recording, not the live RIGHT voices. NOW applies a linked change immediately; BAR waits for the bar boundary during playback.
Record or replace an Auto Voice bank
In 1.0.2, the same gesture stores your current RIGHT1/RIGHT2 setup in an empty or filled bank, including styles without OTS. Recording requires AUTO VOICE = ON.
- Load a style and wait until the sound bank is ready. Close MIDI Player and stop its playback.
- Set AUTO VOICE to ON first, then choose RIGHT1 and, optionally, RIGHT2 sounds, voice octaves, levels, pan, sends and supported DSP.
- Press and hold the left mouse button on bank 1, 2, 3 or 4. Keep the pointer on the button for 10 seconds.
- The first 3 seconds have no progress bar. The cyan bar then fills until recording completes at ten seconds. The status line confirms AUTO VOICE N: OK.
- Release the mouse, repeat for other banks if needed, then press SAVE STYLE. Save a new version to keep your original file.
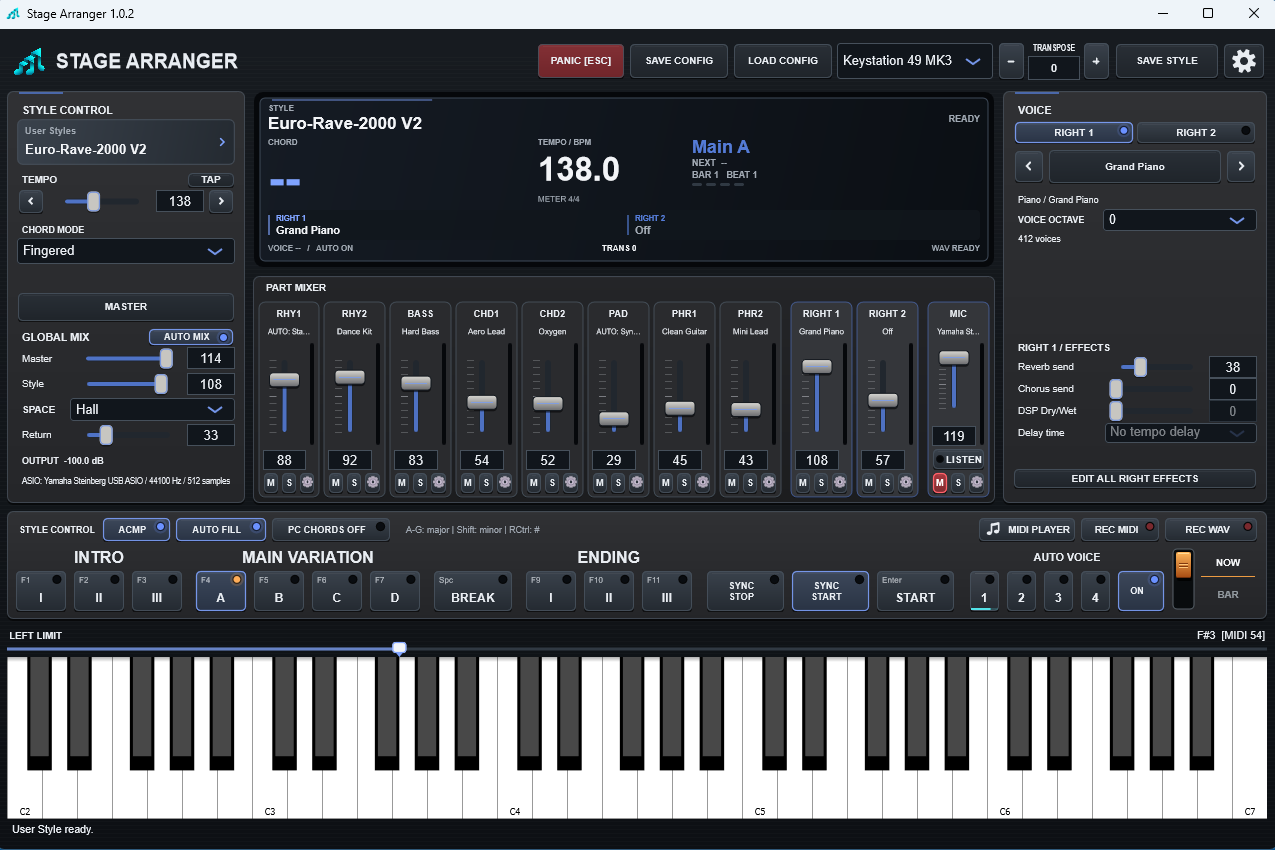
A short click recalls an existing bank; holding records the current setup without first recalling the target bank. Recording replaces that bank's session preset, not the other three banks. The hold stores data in the current session; SAVE STYLE writes it to disk.
For normal editing of an existing bank, recall it, make changes and move to another bank. Those edits remain during the style session; save all banks together when finished.
External SF2 assignments cannot be captured as native OTS banks; the operation is rejected for those sounds. Keep SF2 assignments with SAVE CONFIG and retain the referenced SF2 files separately.
Edit all four, save once
- Choose Auto Voice 1 and the RIGHT part you want to change.
- Edit its voice, VOICE OCTAVE, level, pan, sends or supported DSP.
- Move to slot 2 and edit it. Returning to slot 1 recalls your edits from this style session.
- Repeat for the other available slots.
- Press SAVE STYLE to write all edited or newly recorded banks together.
Missing slots
A style can have empty banks or no OTS data at all. With the style and sound bank loaded, enable ON, set your RIGHT sounds and hold an empty bank for ten seconds. SAVE STYLE writes the new bank into the style. The available voices depend on your sound bank.
Continue with Effects & DSP and Saving styles.
Add your own SF2 sounds
Expand your instrument with SoundFont SF2 files. Choose your own flutes, choirs, guitars and other sounds for the right hand or individual accompaniment parts directly in the application.
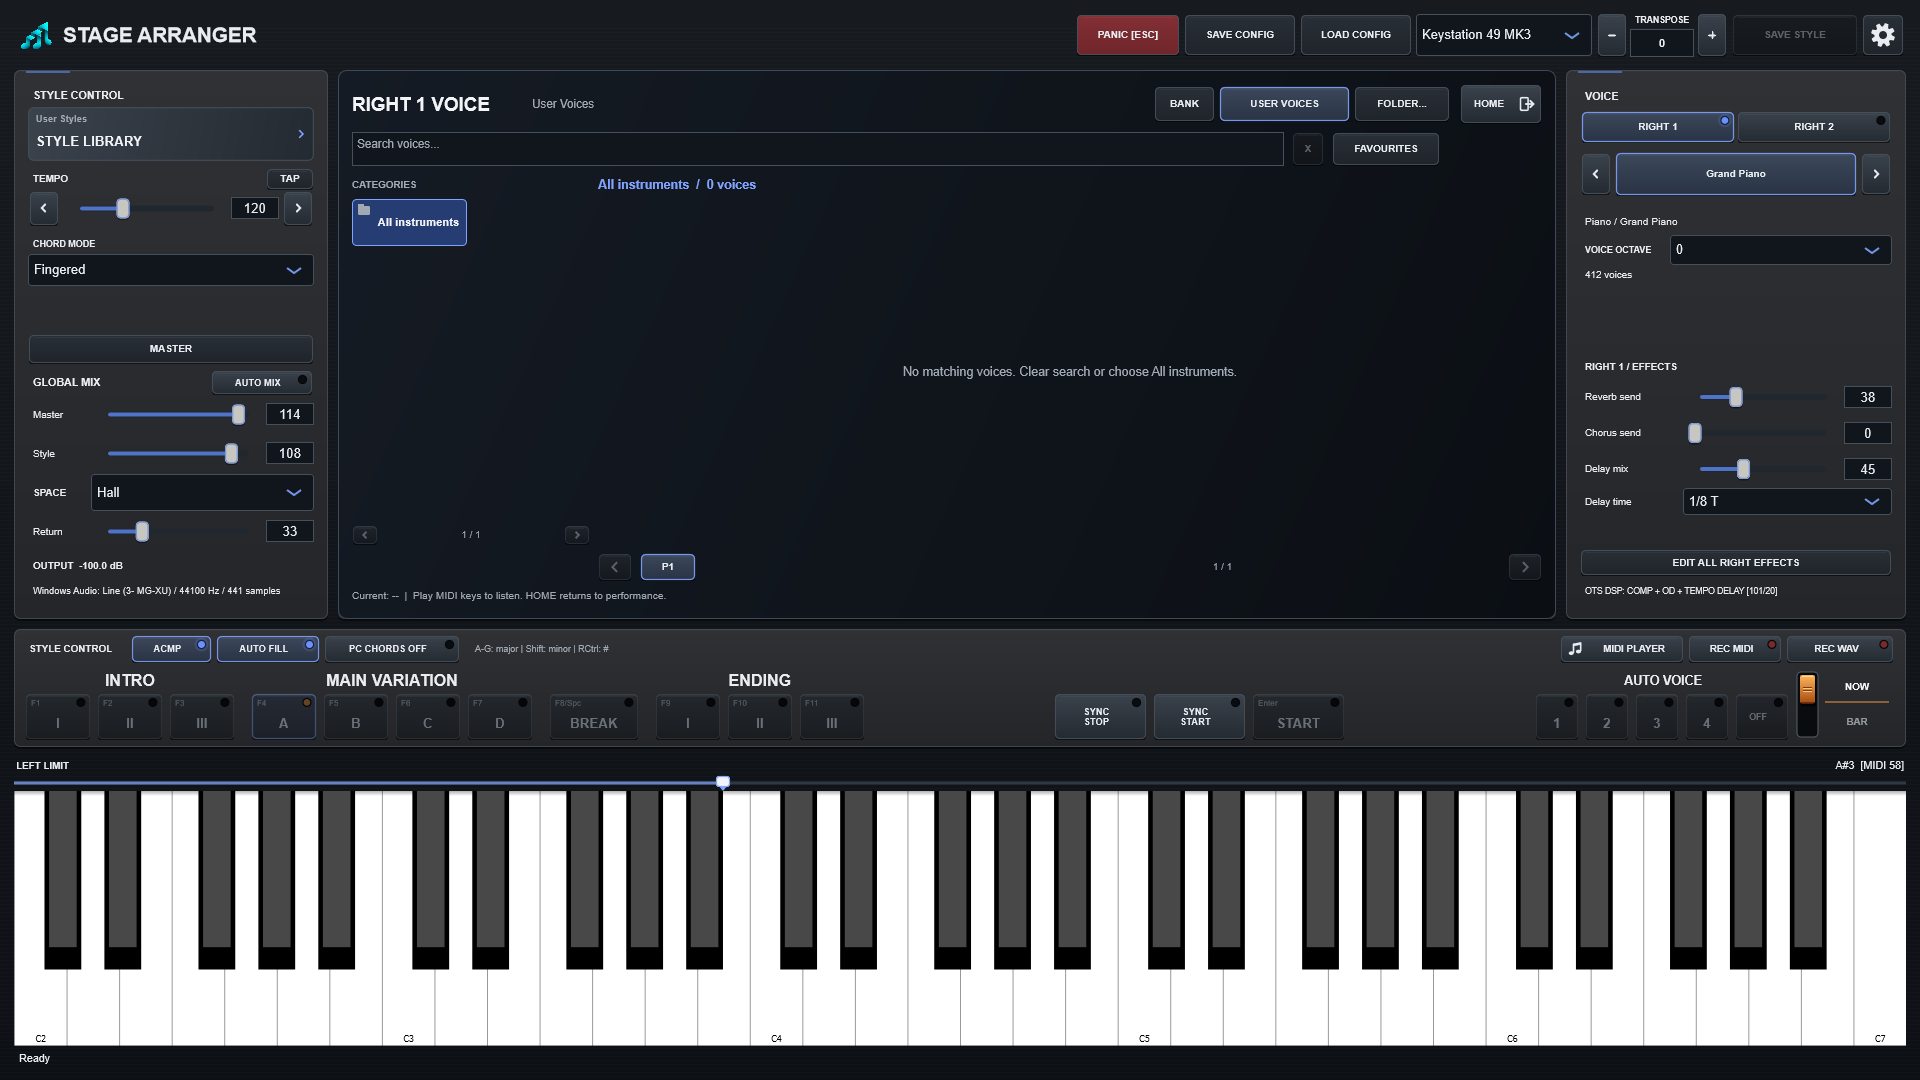
Favourite sounds and styles within reach
Keep bank sounds and SF2 presets together in Favourites, mark favourite styles and quickly find what you need for a performance. Browse categories and choose instruments in a clear visual browser.